This tutorial covers everything you need to start building with Radian. By the end you’ll know how to add elements, adjust their parameters, use masking, and export your composition.
Opening Radian
If you’re using the executable: double-click radian.exe. The app opens directly.
If you’re running from source: open your terminal, navigate to the radian folder, activate the virtual environment, and run:
python main.pyEither way, you’ll land on the main interface.
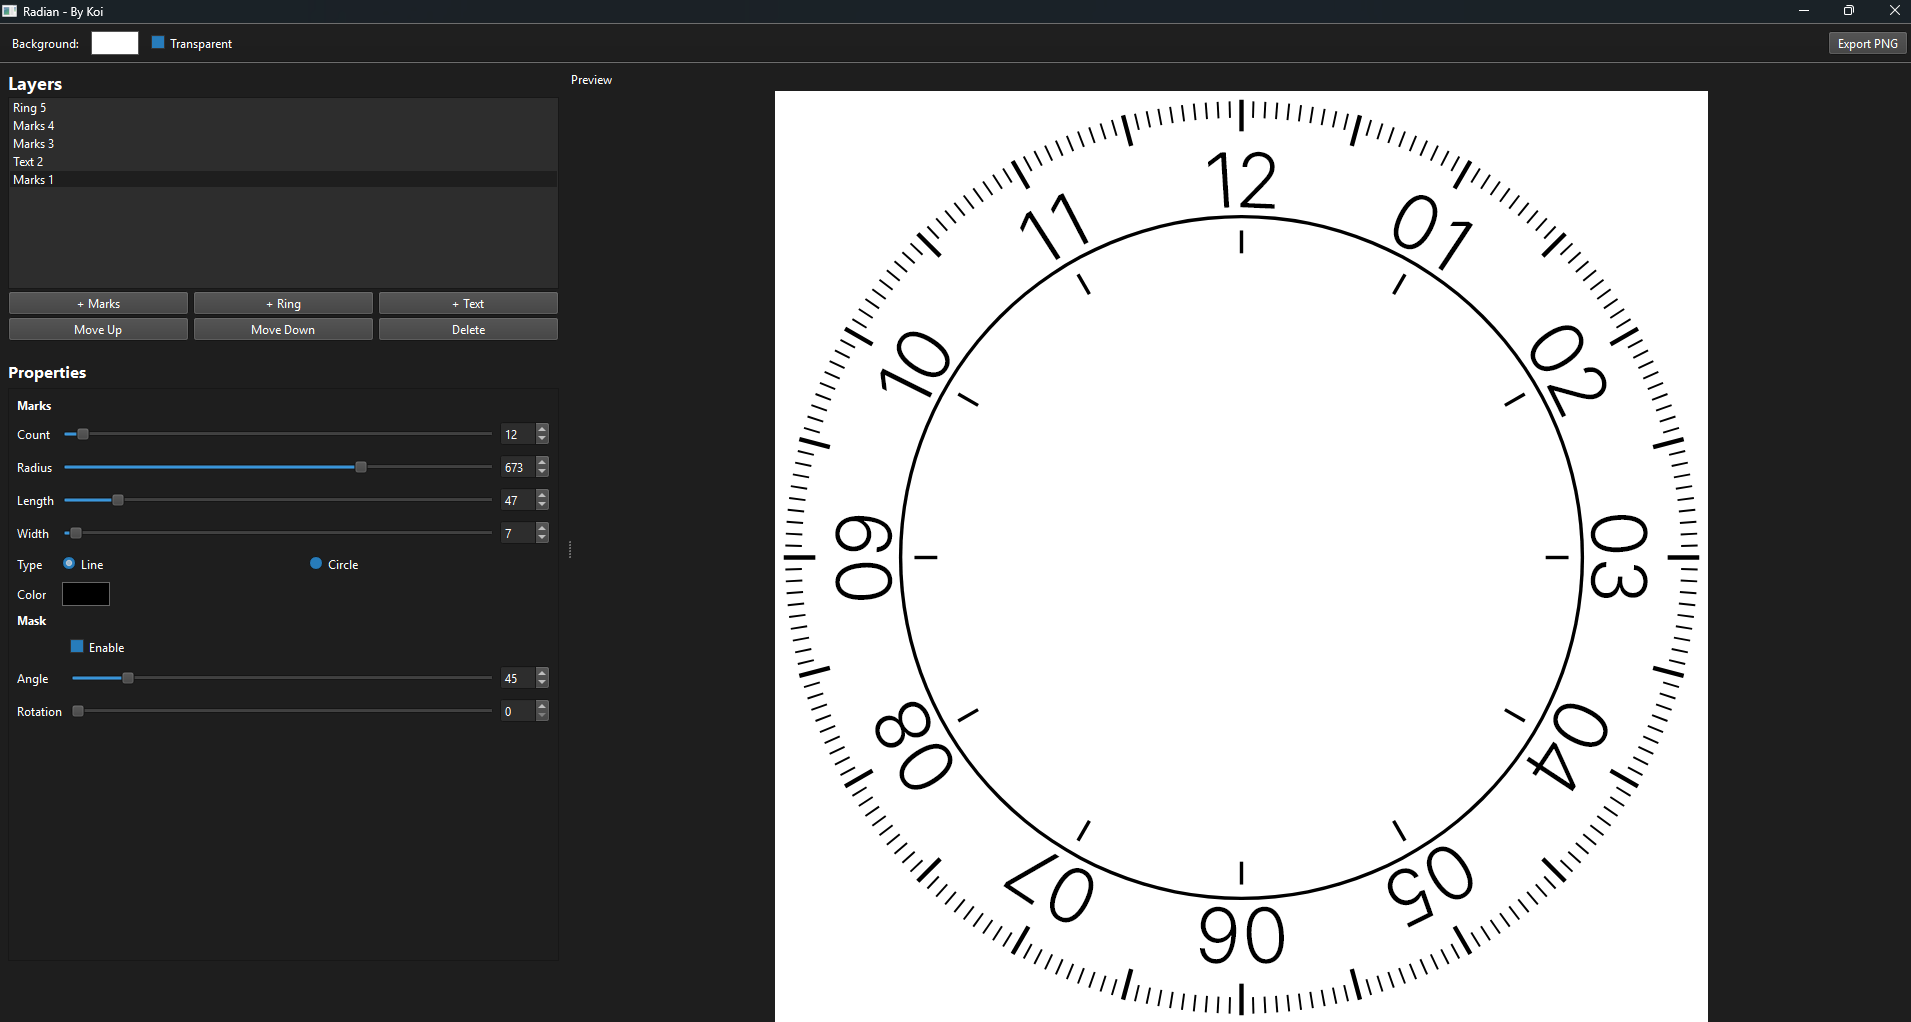
The interface
You will find a controls panel on the left and a live preview on the right.
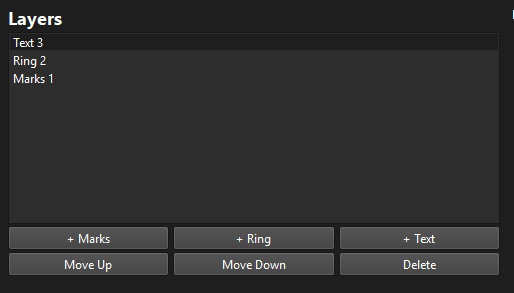
The left panel has two sections:
- Layers — lists all the elements in your composition, in stacking order (first element at the top, last on bottom). Buttons below let you add elements, reorder them, or delete the selected one.
- Properties — shows the parameters for whichever element is selected in the Layers list.
The top bar has two controls: a background color picker and a Transparent checkbox. The Export PNG button sits in the top-right corner.
Adding elements
Click one of the three buttons at the bottom of the Layers panel to add an element:
- + Marks: tick marks arranged around a circle.
- + Ring: a filled concentric ring.
- + Text: typography laid out along a circle.
Each new element appears at the top of the Layers list and is selected automatically, so its parameters show up in Properties right away. You can add as many elements as you need, they stack in order.
To select a different element, click its name in the Layers list. Use Move Up / Move Down to change the stacking order, or Delete to remove the selected element.
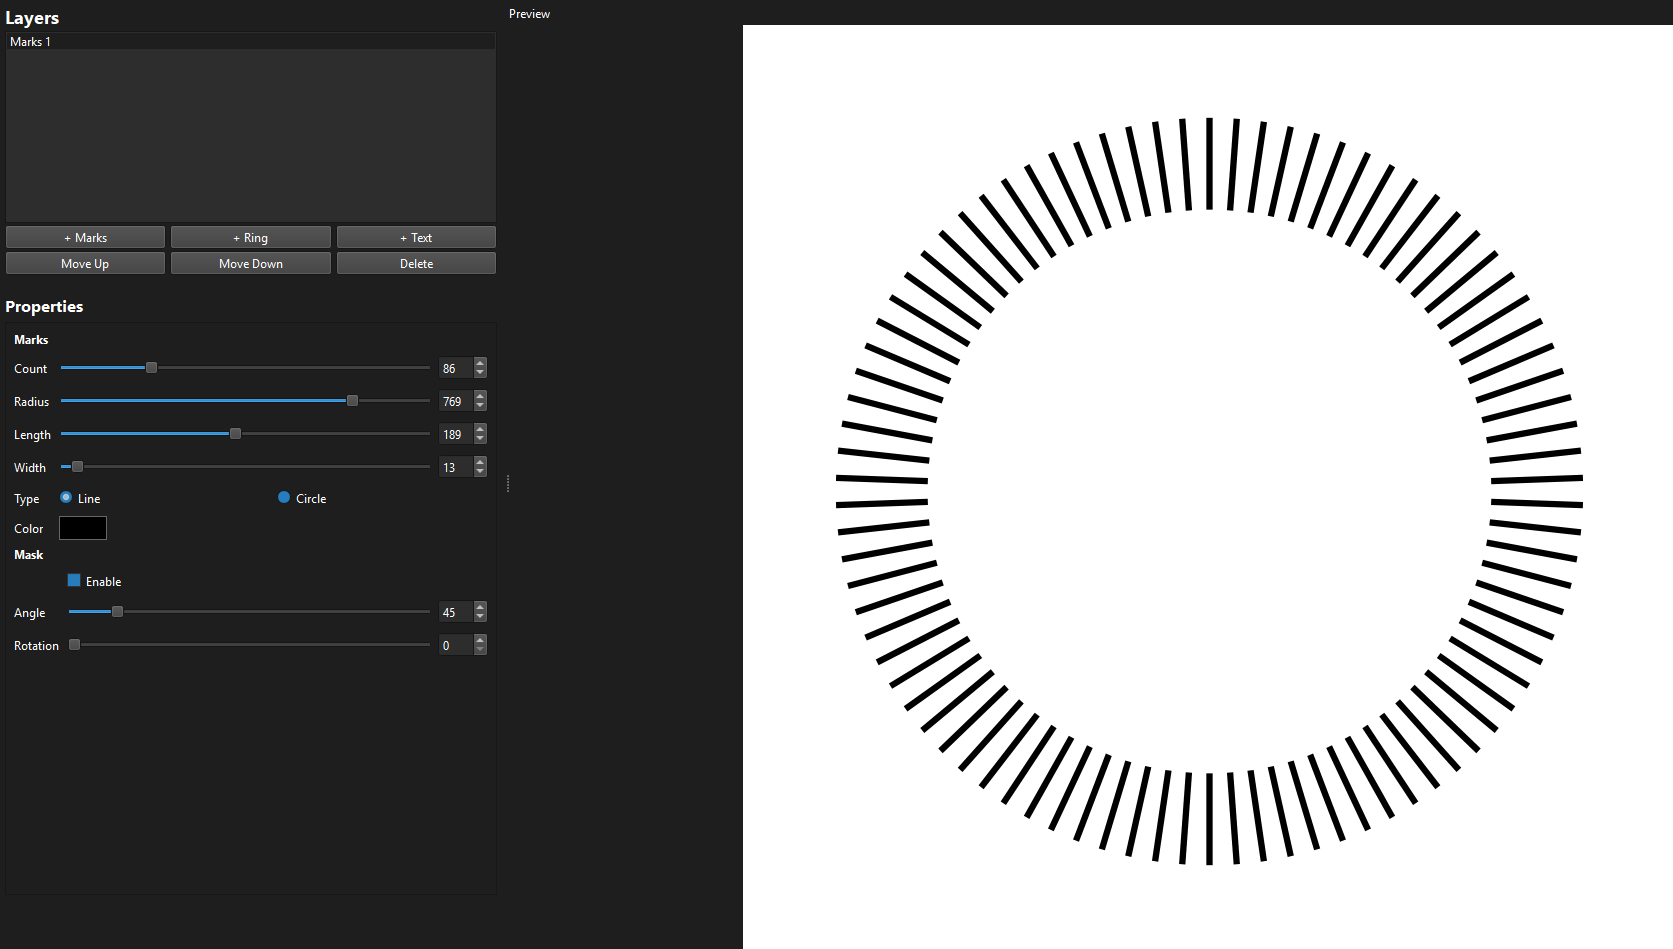
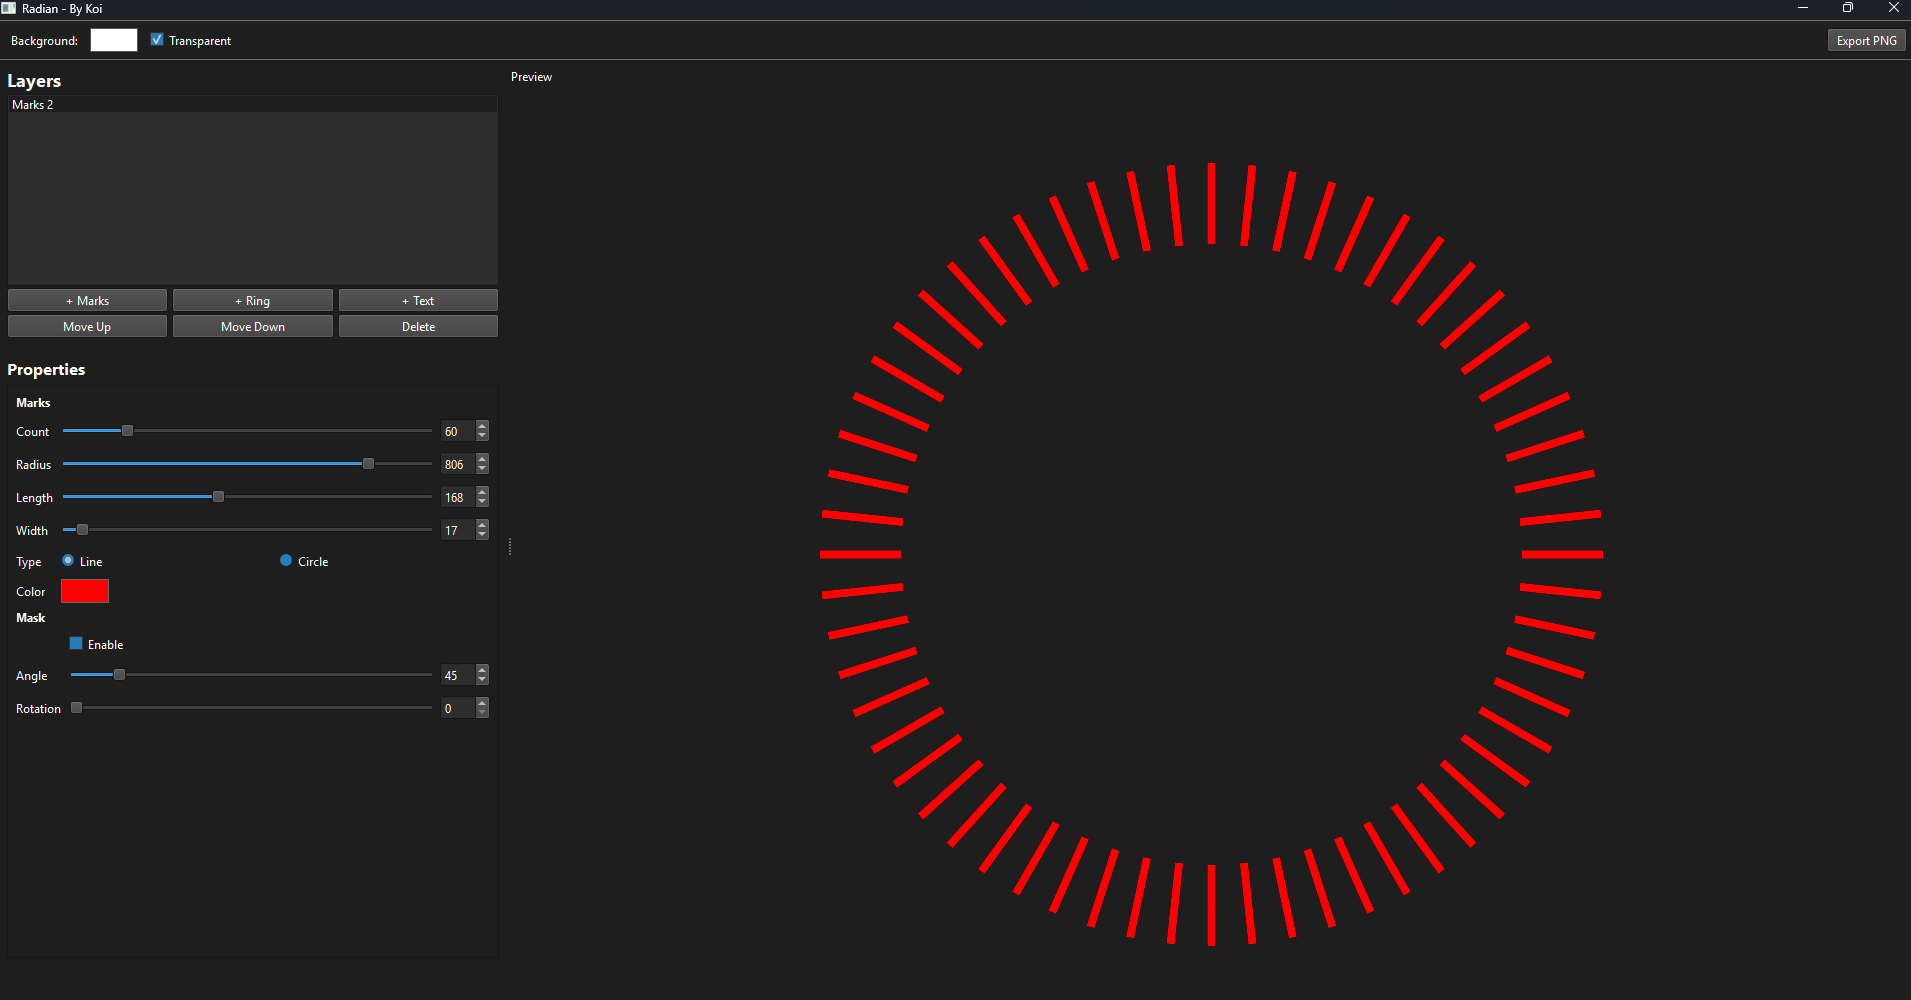
Marks
Marks are tick marks distributed evenly around a circle. When a Marks element is selected, the Properties panel shows:
| Parameter | What it does |
|---|---|
| Count | Number of marks around the circle |
| Radius | Distance from the center to the marks |
| Length | How long each mark is |
| Width | Stroke thickness |
| Type | Line — radial line segments. Circle — dots instead of lines. |
| Color | Mark color |
Adjust Radius and Length together to control where the marks sit and how much space they occupy. Notice all measures all set in pixels. A higher radius pushes them outward; a longer length makes them extend further inward.
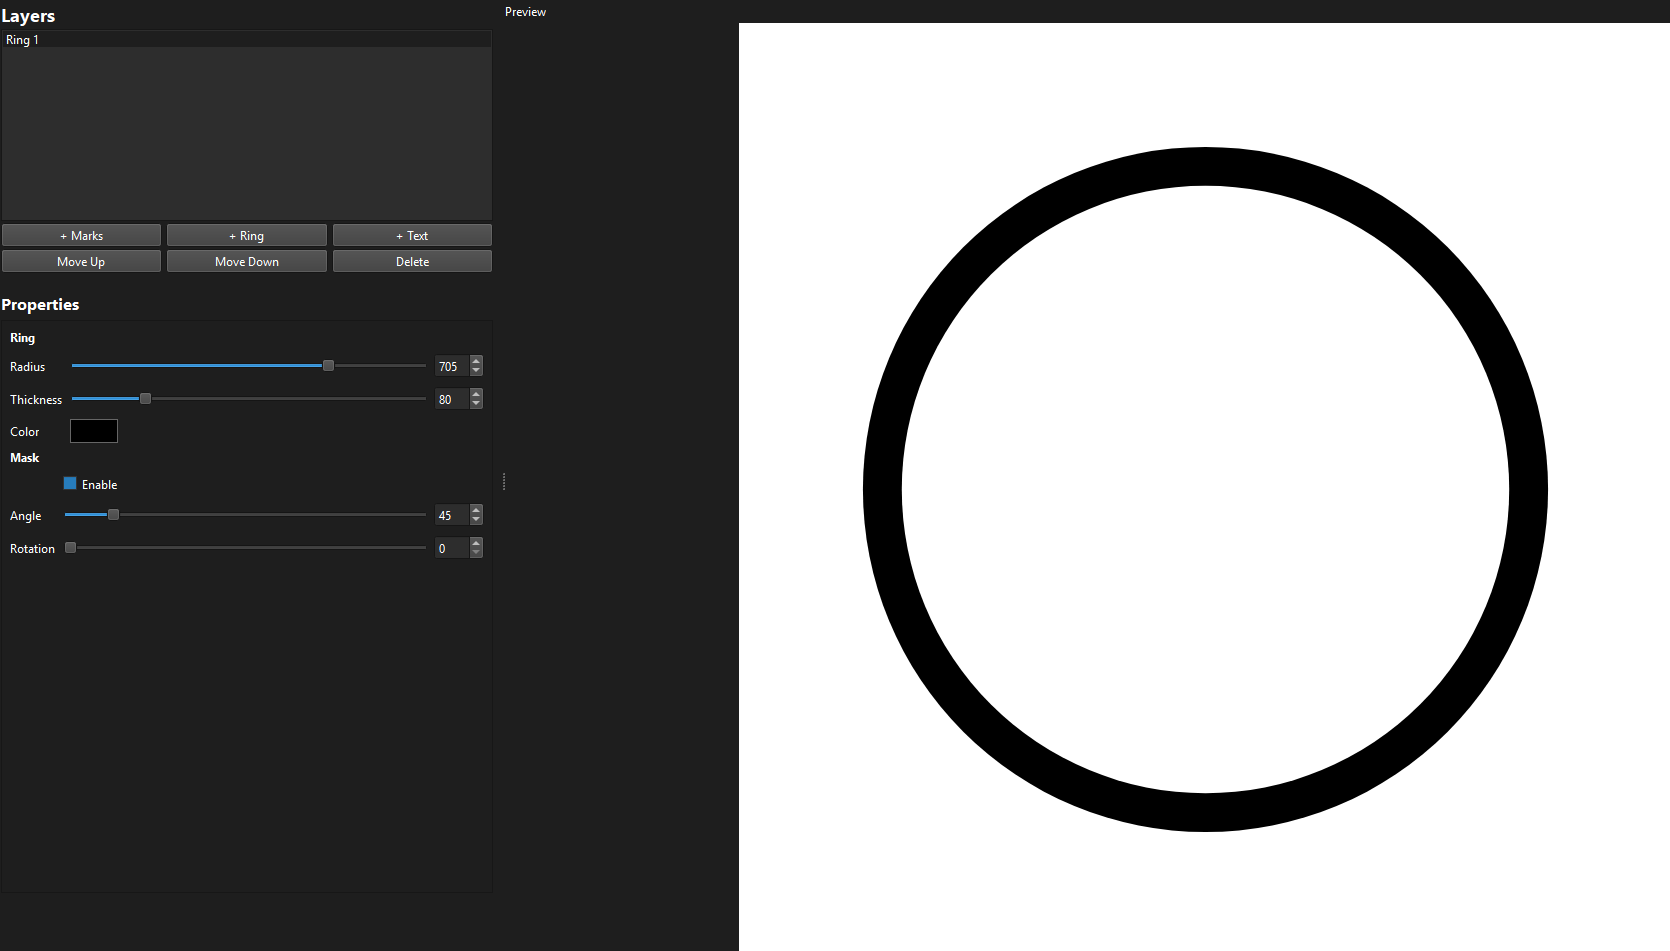
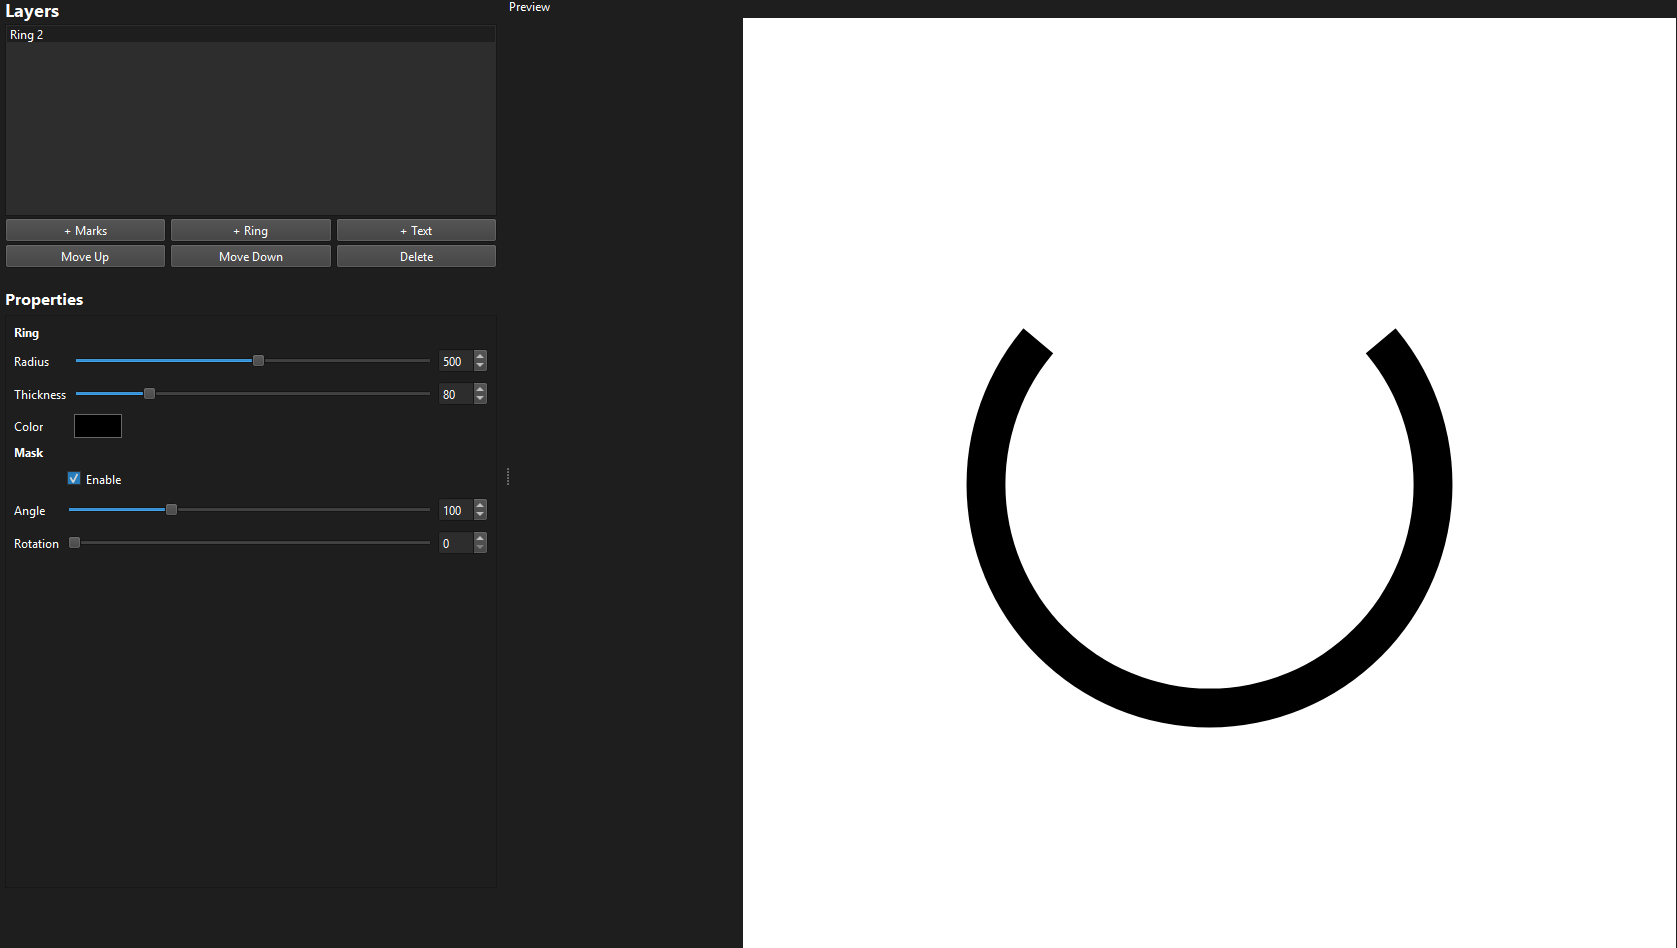
Rings
Rings draw a filled band at a given radius. Parameters:
| Parameter | What it does |
|---|---|
| Radius | Outer radius of the ring |
| Thickness | Thickness of the ring (how wide the band is) |
| Color | Fill color |
A thin ring at a large radius works well as a border. A thick ring at a small radius can become a filled center disc.
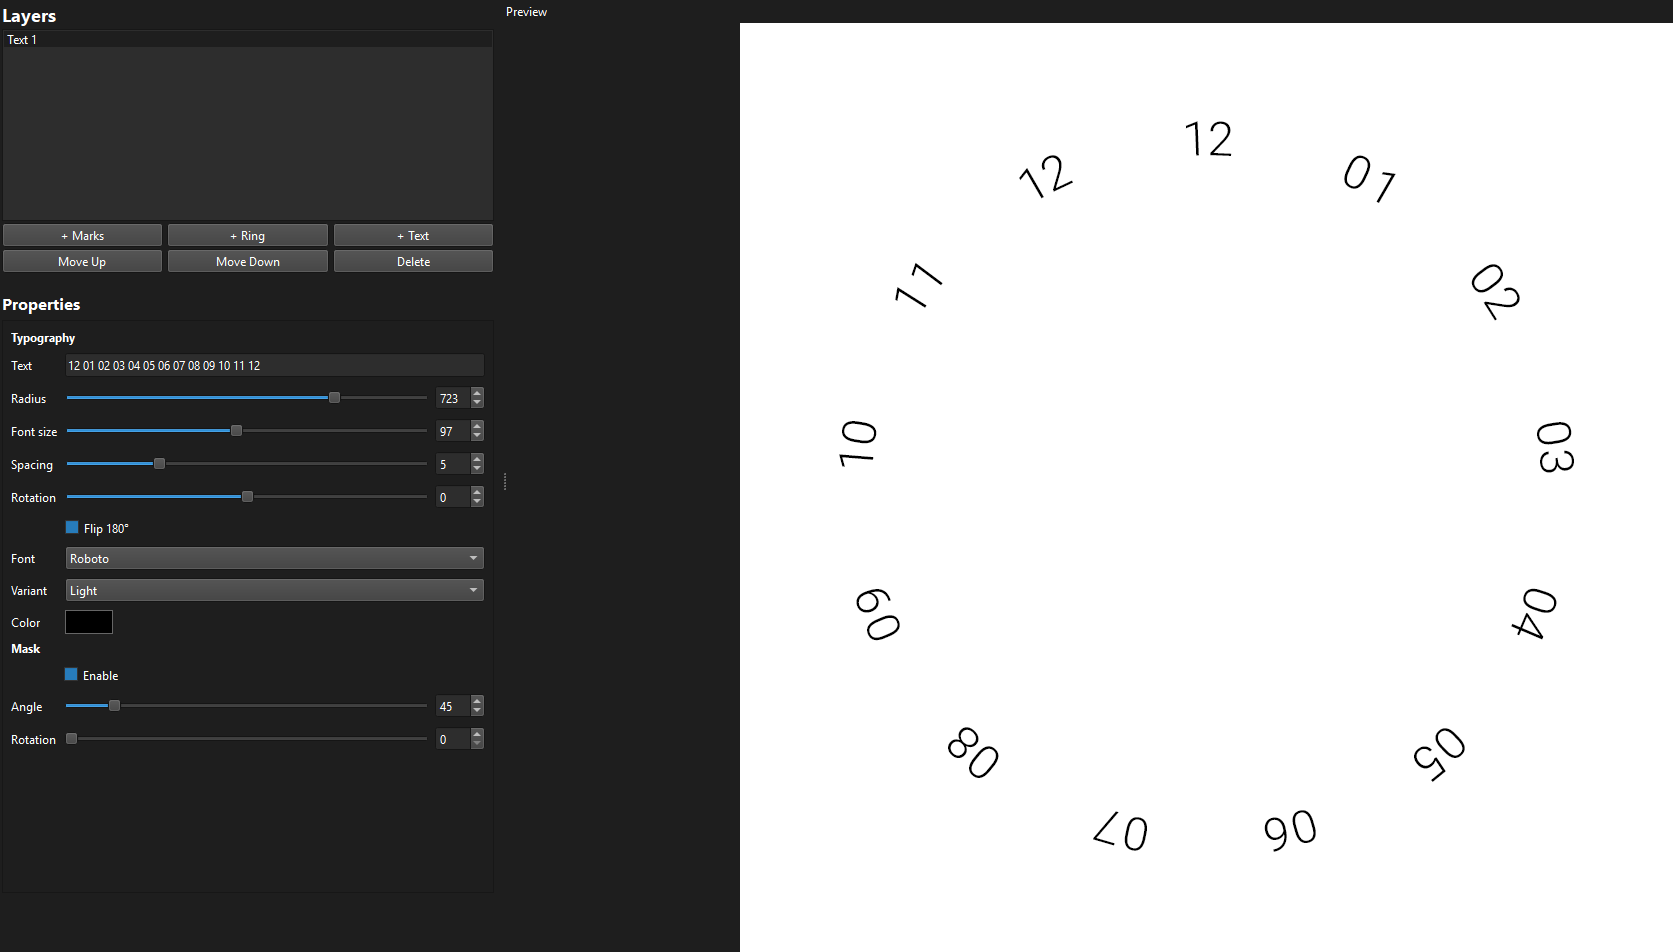
Typography
Typography lays text along the circumference of a circle. Parameters:
| Parameter | What it does |
|---|---|
| Text | The string to render |
| Radius | Radius of the circle on which the text is placed |
| Font size | Size of the characters |
| Letter spacing | Space between characters along the arc |
| Rotation | Rotates the entire text arc around the center |
| Flip 180° | Flips the text to read along the bottom of the circle instead of the top |
| Font family | Choose from system fonts or bundled project fonts (e.g., Roboto). Type to search. |
| Variant | Regular, Bold, Italic, or Bold Italic |
| Color | Text color |
Masking
Every element has its own mask. It lets you hide part of the element using a sector (a pie-slice shape from the center outward). This is useful for leaving a gap in a ring of marks, or exposing only a portion of an arc of text.
To use it, select an element and scroll to the Mask section in Properties:
- Enable — toggle masking on or off for this element.
- Angle — the opening angle of the visible sector, from 0° (nothing visible) to 360° (fully visible, same as no mask).
- Rotation — rotates the sector around the center, letting you position the opening wherever you need it.
The masked area becomes transparent when Transparent background is checked, or white otherwise. Masks are per-element masking one element doesn’t affect the others.
Background and export
At the top of the interface:
- Background color — click the color swatch to set a background color for the preview and export.
- Transparent — check this to export with a transparent background (alpha channel).
When you’re ready to export, click Export PNG in the top-right corner. The file is saved to the outputs/ folder inside the Radian project directory. The filename is generated automatically based on date, so each export has a unique name.
Default image export ist 1920px x 1920px, future releases will let modify this sizes
Putting it together
A typical workflow looks like this:
- Click + Ring and set a large radius and thin length to create an outer border.
- Click + Marks and adjust Count and Radius to place tick marks just inside the ring.
- Click + Text to add a label along the arc. Use Rotation to position it.
- For any element you want partially hidden, enable Mask and set Angle and Rotation.
- Check Transparent and click Export PNG.
The live preview updates instantly as you drag sliders or change values, so it’s easy to iterate in real time.